It is vital to the quality of your finished product to thoroughly clean and sanitize your tanks between batches and before storing. Lack of proper cleaning can cause many undesirable effects including staining, etching, pitting, corrosion, and microbes to form in the tank which will negatively affect the final product. Here are the steps we recommend for properly cleaning and sanitizing your Flextank to maintain the impeccable quality of your product and preserve your tanks' life for years to come. Below are quick-start steps.
The first step in the cleaning process is to remove the lid assembly and verify that any drain or sample valves are in a closed position.
Step 2: Hot Water Soak
Next fill your tank with warm or hot (140 degrees F is the optimal recommended temperature) non-chlorinated water to dissolve any tartrates or deposits.
Step 3: Disassemble & Soak Lid
While the tank is soaking, disassemble and soak the lid, cap, and gasket in a small tub of hot water. (If your tank has an airlock, first remove and set aside- do not submerge in water.)
Step 4: Drain & Scrub
Drain the tank using both the sample valve and drain valve if present to flush their internal parts. If necessary, you can repeat the hot/warm water soak. Stubborn deposits might require scrubbing with a soft cloth or soft brush.
Step 5: Alkaline Solution & Rinse
Prepare an alkaline solution per the manufacturer's directions and add a coat to the tank paying special attention to the gasket and threads. Soak for 20-30 minutes before using a soft cloth or brush to wipe down all surfaces. Rinse twice with clean water and drain through sample and drain valves if present.
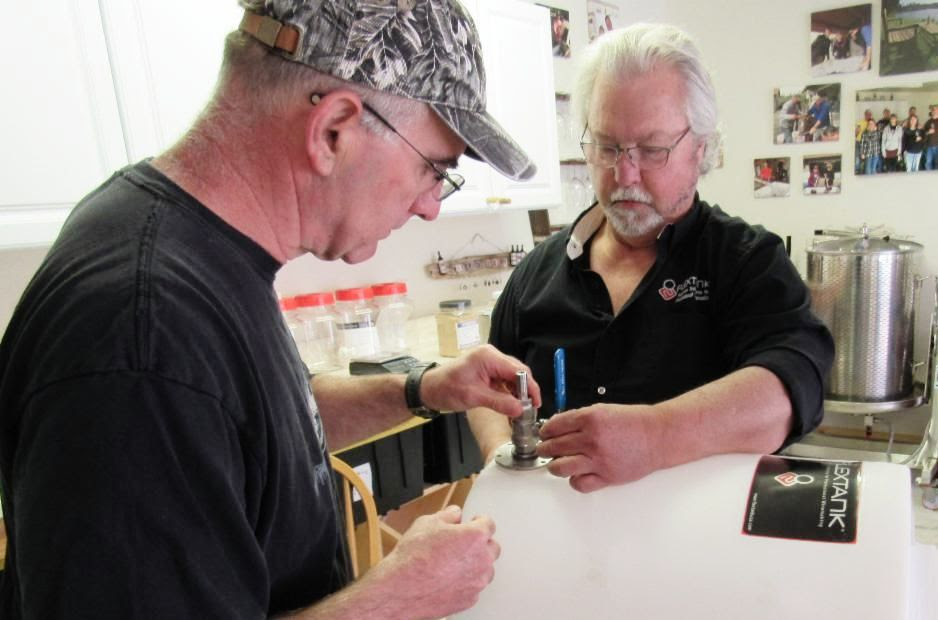
Bonus: Sanitize Hardware
At this point many beverage makers choose to remove stainless steel hardware such as tri-clamps, valves and fittings at this point for inspection and cleaning. These pieces can be soaked in a tub with the same alkaline cleaner and soft cloth or brush before being rinsed thoroughly. Your tanks are now ready to be returned to production!
Storing Your Tanks?
If you will be storing the tanks after cleaning, be sure to thoroughly wipe all visible water and then let each component completely air dry before reassembling to prevent rust.
Prior to Next Use: After storage, inspect the tank for contaminants. Perform a quick water rinse followed by your chosen sanitizer. Follow it's recommended directions and flood all loose tank parts in a tub as well as soak or wet the tank's surface. If doing several tanks simultaneously, a hand pump garden sprayer (that has never been filled with other chemicals) can be used to wet the surfaces. Rinse the tanks twice using all available valves and on your final rinse perform a leak check on all valves and fittings before draining. Your tank is now ready to be put back into production!